If you want to exclude internal traffic in ga4, you are in the right place. Today, we are going to fix this. I’m going to show you exactly how to clean up your streams. We will look at the standard “official” way, but first, I’m going to show you the method I actually use most of the time—the Google Analytics Opt-out Add-on. It’s faster, often more reliable for remote workers, and saves you from the headache of dynamic IP addresses.

Let’s get your data squeaky clean.
Why Your Data is Lying to You
Before we click any buttons, let’s understand why this matters. When you or your team visit your site, you behave differently from a user. You spend longer on pages (increases”Average Engagement Time”). You bounce around quickly between pages to check links (increases “Views”). Or you might land on a page and leave immediately(increases “Bounce Rate”).
If you run a small site with only a few visitors a day, then you need to exclude your own visit from the analytics to get accurate results.
Method 1: The Easiest Solution – Google Analytics Opt-out Add-on (Recommended)
Let’s be real. The “official” way to filter traffic in GA4 relies on IP addresses. That was great in 2010 when we all worked in one office with one static internet connection.
But today? You’re working from a coffee shop. Your developer is digital nomad-ing in Bali. Your content writer is at home, where their ISP changes their IP address every time they restart their router. Trying to block all those IPs is an impossible task.
That is why I prefer an Add-on made by google itself.
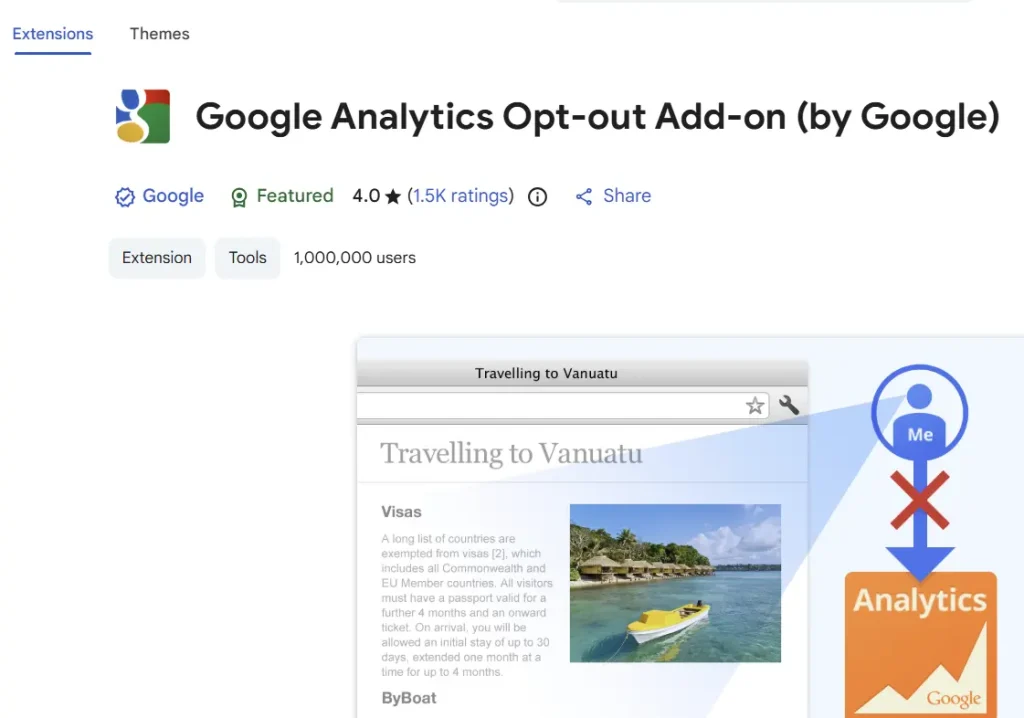
Google Analytics Opt-out Add-on
This is a browser extension built by Google itself. Instead of telling GA4 “ignore traffic from this IP,” this extension tells your browser “never send data to GA4 in the first place.” It stops the tracking visits from executing for you.
How to Set It Up
Step 1: Download the Extension: Open chrome and you can simply search for the Google Analytics Opt-out Add-on. You can grab it directly here: Google Analytics Opt-out Add-on
Step 2: Install: Click “Add to Chrome”. Once installed, it runs silently in the background. There is no complex configuration. It just works.
Step 3: Verify It’s Working Go to your website. Then, open your GA4 property in a separate tab and navigate to Reports > Realtime. Click around your site. If the extension is doing its job, you should see zero activity in the Realtime report. This will exclude internal traffic in ga4, You are now a ghost to your own analytics.
Why I Love This Method
- Dynamic IPs don’t matter: You can work from a hotel, a library, or the moon (assuming decent Wi-Fi). As long as you are using your browser with the extension, you are excluded.
- Zero Server Setup: You don’t need to touch the GA4 admin panel or mess with Data Filters.
The Catch
This method only works for that specific browser. If you switch to your phone to check your site, you will still be tracked. If you use a different laptop without the extension, you will be tracked.
For solo creators and small teams, tell everyone to install this extension. It takes five seconds and solves the problem permanently.
Method 2: The “Official” GA4 Way – Defining Internal Traffic by IP
If you have a corporate office with a static IP address, or if you need to filter out server traffic that doesn’t use a browser, this is the method for you. This allows you to exclude internal traffic in ga4, regardless of what device is being used, as long as it’s connected to your network.
Here are the steps you need to follow:
Stage 1: Find Your IP Address
This is the easy part. Go to Google and search “what is my ip”. Google will display your public IPv4 or IPv6 address right at the top. Copy it.
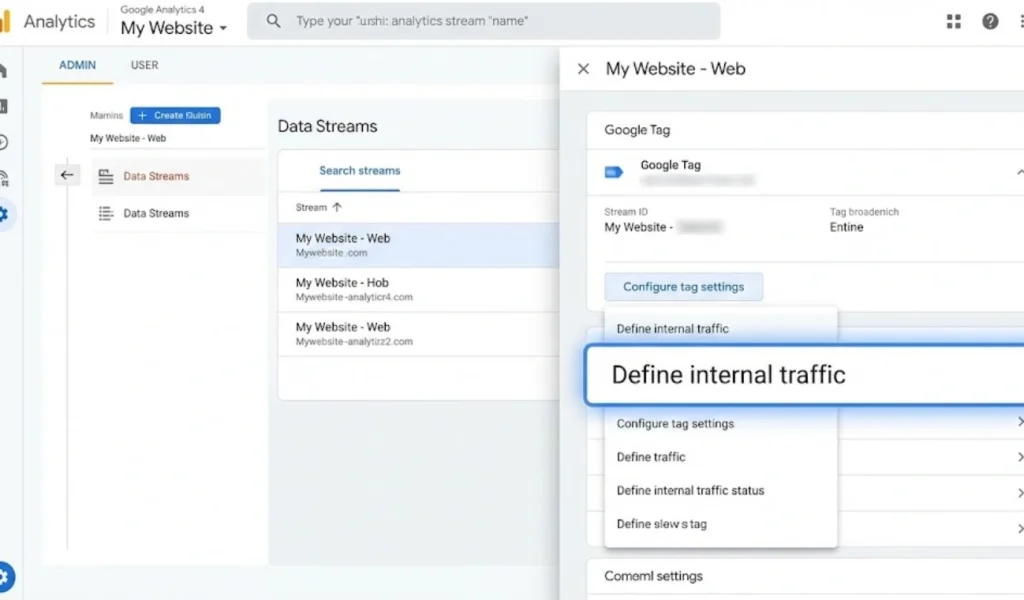
Stage 2: Define Internal Traffic
- Log in to your Google Analytics 4 account.
- Click the Admin gear icon in the bottom left.
- Under the Property column, click on Data Streams.
- Select your web data stream (the arrow next to your URL).
- Scroll down to the “Google Tag” section and click on Configure tag settings.
- You might need to click “Show more” to see the full list. Look for Define internal traffic.
- Click Create.
Here, you set the rule:
- Rule Name: Give it a name like “Office Wifi” or “Home IP”.
- traffic_type value: Leave this as
internal. - IP address > Match type: Select “IP address equals”.
- Value: Paste the IP address you copied earlier.
Click Create.
Stage 3: Create and Activate the Data Filter
You defined the traffic, but you haven’t blocked it yet. Right now, GA4 is just adding a little label to that traffic saying “this is internal,” but it’s still recording it. We need to filter it out.
- Go back to the main Admin page.
- Under Data Settings, click on Data Filters.
- You will likely see a pre-made filter called “Internal Traffic”. If not, click Create Filter > Internal Traffic.
- Click on the filter to edit it.
- Filter Operation: Ensure “Exclude” is selected.
- Filter State: You will see three options: Testing, Active, and Inactive.
STOP! Read this carefully. Always, always start with Testing. If you set it to Active immediately and you messed up your IP address (e.g., you accidentally blocked your customers’ IP range), you will lose that data forever. GA4 filters are destructive. You cannot get the data back once it is filtered out.
Set it to Testing and click Save.
Stage 4: Verifying the IP Filter
Wait a few hours (sometimes up to 24 hours). Then, go to your Realtime report. You won’t see the traffic disappear yet because the filter is only in “Testing” mode. Instead, you need to add a comparison.
- Click “Add comparison” in the Realtime report.
- Select the dimension Test data filter name.
- If your setup is working, you should see your internal traffic labeled there.
Once you are sure that only your traffic is being filtered, go back to Admin > Data Filters, change the status to Active, and hit Save.
Method 3: Handling Dynamic IPs Without the Extension
What if you have a dynamic IP and you can’t install the browser extension (maybe you’re testing on mobile devices)?
This is the trickiest scenario. A common solution for this involves using a specific URL. You create a bookmark for your site, which looks like this: https://yoursite.com/?internal_user=true
Then, you set up a Tag in Google Tag Manager (GTM) that looks for that internal_user=true parameter in the URL. When GTM sees it, it sets a cookie on your device. Then, you tell GA4 to look for that cookie and exclude any user who has it. This is complex and requires GTM proficiency, so I won’t bore you with the technical setup here. But if you are managing multiple client sites, mastering this technique most necessary.
Common Downside
1. The IPv6 Trap
Sometimes, you exclude your IPv4 address (the short one like 192.168.0.1), but your internet provider is actually using IPv6 (the incredibly long one with letters and numbers). If GA4 sees the IPv6 address but you only filtered the IPv4, you won’t be excluded. Always check “What is my IP” carefully.
2. The “Wait Time”
GA4 is not instant. Iit can take anywhere from 12 to 24 hours for a new filter to fully kick in. Don’t panic if you don’t see results in five minutes.
3. Google Signals
If you have Google Signals activated, simple IP filtering usually works fine, but user identification gets more complex. Just keep your filters simple.
→ (Insert Image Here — Prompt: “A minimalist illustration of a magnifying glass examining a data stream, spotting a red ‘X’ mark on specific data packets, symbolizing filtered traffic”)
Why Clean Data Changes Everything
You might think, “It’s just a few visits, does it really matter?” Yes. It matters. When you are trying to grow a website, you need to know if your content is actually resonating with real people. If you see a high bounce rate, you want to know it’s because your intro is weak, not because you opened the page and closed it ten times while fixing a typo.
Managing a website involves a lot of moving parts, updating plugins, checking security, or even administrative tasks like when you need to change your primary Gmail address. Accurate data gives you confidence. It lets you say, “This strategy isn’t working,” or “This post is a winner,” with absolute certainty.
Final Thoughts
We have covered a lot. If you are a solo blogger or a small team, just use the Google Analytics Opt-out Add-on. If you are running a larger operation with a fixed office, the IP exclusion method in GA4’s admin panel is your best bet. Just remember to test it first.
Don’t let your own enthusiasm for your website ruin your data. Be a ghost. Browse unseen. And let your analytics show you the truth about your audience, exclude internal traffic in ga4.
For more tips on navigating the tech world, check out the rest of the guides here at TRICK47. Now, go install that extension!